"Discover quick, easy, and delicious weeknight recipes at Weeknight Recipe! Perfect for busy home cooks, our site offers simple meal ideas, tips, and inspiration to make dinner stress-free and enjoyable."

Easy red velvet brownies recipe For valentine days
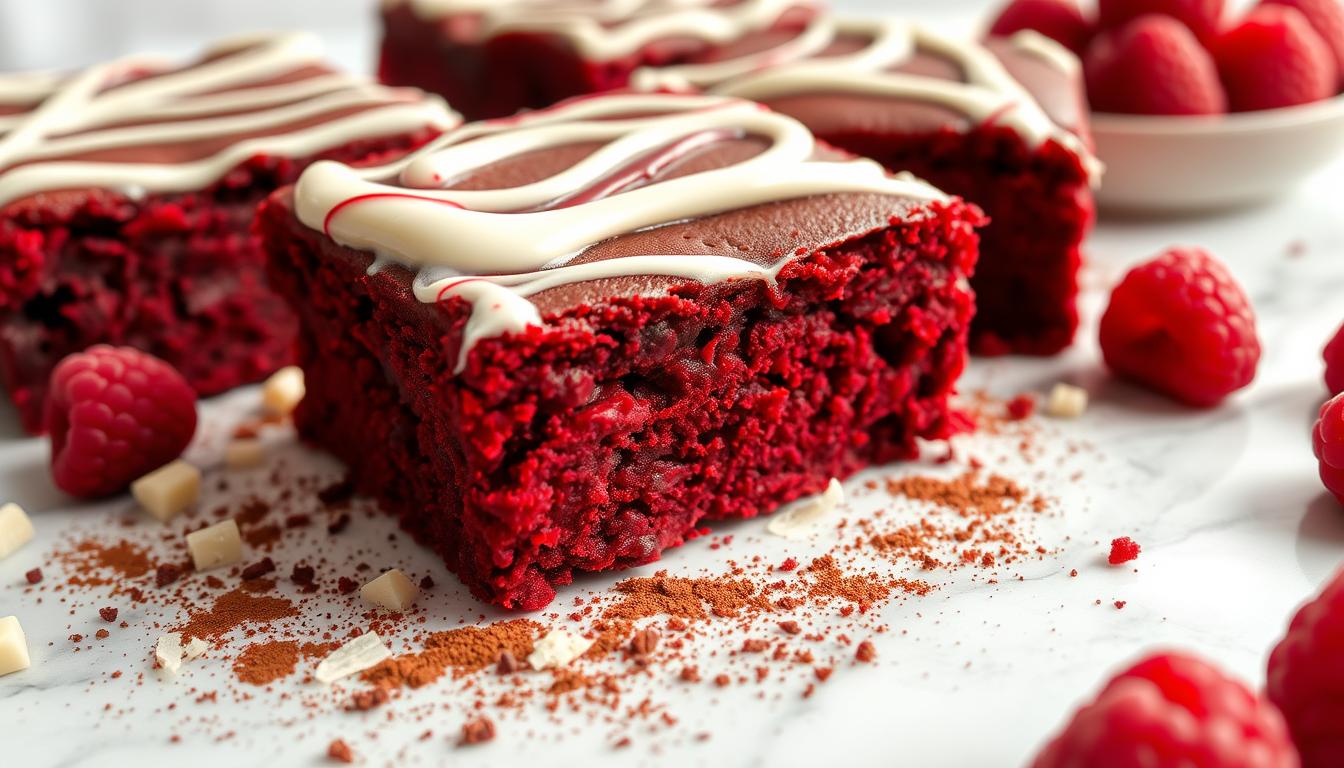
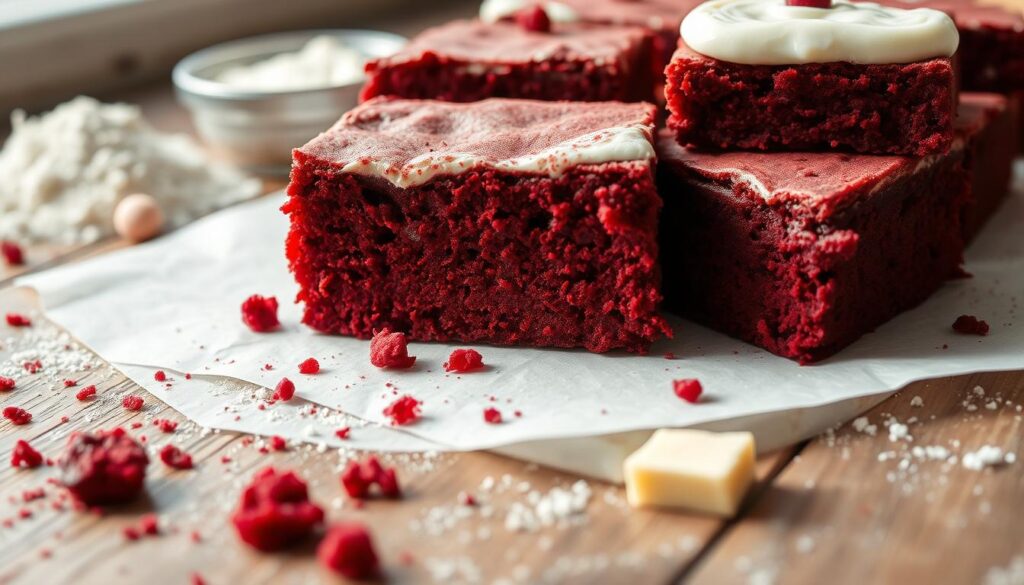
The Best Red Velvet Brownies Recipe
Red velvet brownies are a delightful twist on a classic dessert. They mix the rich, chocolatey flavor of brownies with the signature red velvet hue. This creates a treat that is both visually stunning and delicious. This red velvet brownies recipe offers a perfect balance of fudgy texture and subtle cocoa notes, making it a crowd-pleaser for any occasion.

Whether you’re a seasoned baker or a beginner, this recipe is easy to follow. With the right ingredients and techniques, you can achieve the perfect velvet fudge consistency. Red velvet fudge brownies are ideal for parties, family gatherings, or even as a sweet indulgence for yourself.
Key Takeaways
- Red velvet brownies combine rich chocolate flavor with a vibrant red hue.
- This recipe is simple and suitable for bakers of all skill levels.
- The result is a fudgy, velvety texture that everyone will love.
- Perfect for parties, gatherings, or personal treats.
- Follow the steps carefully to achieve the best results.
Understanding Red Velvet Brownies: History and Appeal
Red velvet desserts have a long history, starting in the early 20th century. They are famous for their bright color and special taste. Mixing this with the gooey texture of brownies makes a treat that’s irresistible.
Origins of Red Velvet Desserts
The story of red velvet desserts begins in the 1920s. Bakers used cocoa powder to get that red color. Later, buttermilk and vinegar were added, making it a Southern favorite. Now, red velvet brownies keep this tradition alive with a fresh twist.
What Makes Red Velvet Unique
Red velvet is special because of its unique taste. It combines cocoa, buttermilk, and a bit of acidity. This mix creates a flavor that’s neither too chocolatey nor too vanilla. This makes red velvet brownies a favorite among dessert lovers.
Why Brownies and Red Velvet Make a Perfect Match
Brownies are loved for their dense, fudgy texture. When paired with red velvet’s smoothness, it’s a match made in heaven. This combo is both indulgent and beautiful to look at. Whether you’re a fan of traditional velvet brownies or want to try something new, this mix is sure to please.
Essential Ingredients for Red Velvet Brownies Recipe
To make the perfect red velvet brownies, you need the right ingredients. High-quality ingredients give you a rich, fudgy texture and a vibrant color. Here’s what you’ll need:
- Cocoa Powder: Choose unsweetened, high-quality cocoa powder for a deep chocolate flavor.
- Flour: Use all-purpose flour for the best structure. For gluten-free, almond flour is a good choice.
- Sugar: A mix of granulated and brown sugar balances sweetness and moisture.
- Butter: Unsalted butter adds richness and helps make the batter smooth.
- Eggs: They bind the ingredients and make the brownies fudgy.
- Red Food Coloring: Gel-based coloring gives a vibrant red color without changing the taste.
- Vanilla Extract: It enhances the overall flavor.
- Salt: A pinch of salt balances sweetness and intensifies chocolate flavor.
These ingredients are key to making desserts like red velvet brownies. Using the best quality ingredients ensures a decadent treat that looks great and tastes amazing. Remember these essentials, and your brownies will always be perfect.
Mastering the Perfect Texture and Color
Creating the perfect red velvet brownies recipe is all about texture and color. The right techniques can make your baking experience better. Your brownies will look great and taste amazing.
Achieving the Right Shade of Red
To get that signature red hue, use gel food coloring instead of liquid. Gel coloring is more concentrated, so you’ll need less to achieve a vibrant shade. Avoid overmixing the batter, as this can dilute the color. For a natural option, beet juice can be a great alternative, though it may slightly alter the flavor.
Tips for Fudgy Texture
For fudgy red velvet brownies, focus on the fat-to-flour ratio. Use melted butter or oil for a rich, moist texture. Don’t overbake; remove the brownies from the oven when the edges are set but the center is still slightly soft. Let them cool completely in the pan to lock in moisture.
Common Mistakes to Avoid
- Overmixing the batter: This can lead to dense, tough brownies.
- Using the wrong pan: A metal or glass pan works best for even baking.
- Overbaking: This dries out the brownies, losing their fudgy texture.
By mastering these techniques, your red velvet brownies recipe will deliver the perfect balance of color and texture. Every bite will be a delight.
Step-by-Step Baking Instructions
Baking the perfect red velvet brownies is easier than you think. Follow these simple steps to create a decadent treat that will impress everyone. Start by preheating your oven to 350°F (175°C). This ensures even baking for your velvet brownies.
Prepare your baking pan by lining it with parchment paper or greasing it lightly. This prevents sticking and makes cleanup a breeze. Next, gather all your ingredients for the baking recipes desserts. Measure them accurately to ensure the right texture and flavor.
- Mix the dry ingredients—flour, cocoa powder, and salt—in a bowl. Set aside.
- In a separate bowl, beat the butter and sugar until creamy. Add eggs one at a time, followed by vanilla extract and red food coloring.
- Gradually fold the dry ingredients into the wet mixture. Stir until just combined to avoid overmixing.
- Pour the batter into the prepared pan, spreading it evenly.
- Bake for 25-30 minutes. Check for doneness by inserting a toothpick into the center; it should come out with a few moist crumbs.
Let the brownies cool in the pan for 10 minutes before transferring them to a wire rack. This ensures they set properly. Slice and serve your velvet brownies with a dusting of powdered sugar or a scoop of vanilla ice cream for an extra treat.
Conclusion: Serving and Storing Your Red Velvet Brownies
After baking, let your red velvet brownies cool completely in the pan. This step is key for a perfect fudgy texture. Cutting them too soon can cause crumbly edges and uneven slices.
To store, put the brownies in an airtight container. This keeps them fresh and moist for up to five days. For longer storage, wrap them tightly in plastic wrap and freeze for up to three months. Thaw at room temperature before serving.
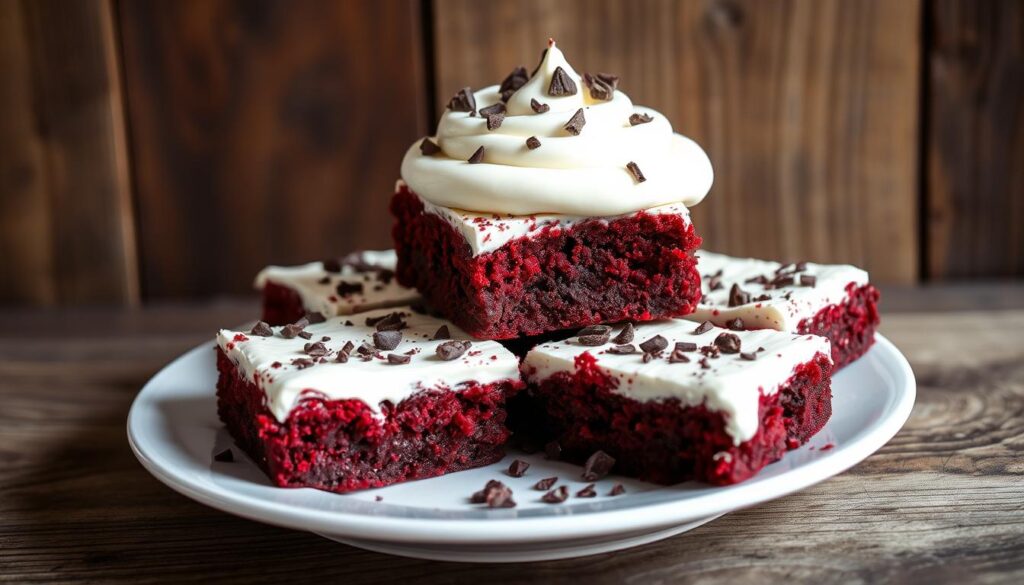
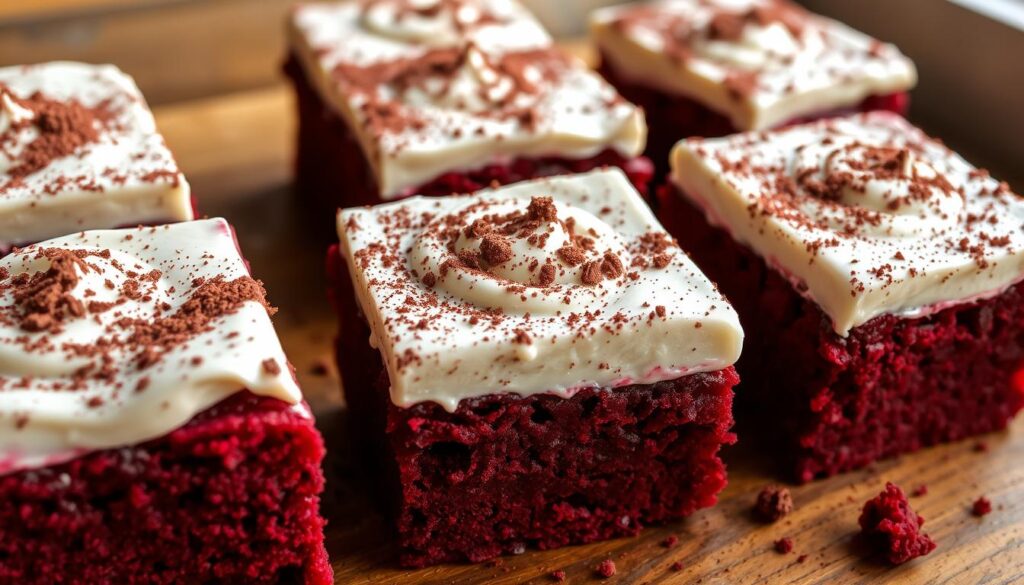
When serving, dust the brownies with powdered sugar for a classic look. Enjoy them with vanilla ice cream or whipped cream for a special treat. These desserts are great for sharing with loved ones.
Red velvet brownies offer a delightful twist on a classic dessert. Follow these tips to enjoy every bite to the fullest.
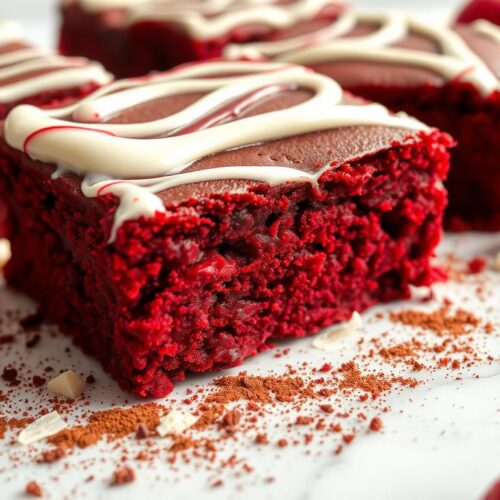
red velvet brownies
Elevate your baking with this decadent Red Velvet Brownies Recipe – a classic treat with a twist.
Ingredients
- 1/2 cup 1 stick unsalted butter, melted
- 1 cup granulated sugar
- 2 large eggs
- 1 teaspoon vanilla extract
- 1 tablespoon red food coloring
- 1/3 cup unsweetened cocoa powder
- 1/2 teaspoon salt
- 1/2 teaspoon baking powder
- 3/4 cup all-purpose flour
- 1/2 cup white chocolate chips optional
- 1/2 cup cream cheese frosting for topping, optional
Instructions
- Preheat the oven to 350°F (175°C). Grease an 8×8-inch baking pan or line it with parchment paper.
- Mix wet ingredients: In a large bowl, whisk together the melted butter and sugar until combined. Add the eggs, vanilla extract, and red food coloring. Mix until smooth and vibrant red.
- Add dry ingredients: Sift in the cocoa powder, salt, baking powder, and flour. Gently fold the dry ingredients into the wet mixture until just combined. Avoid overmixing.
- Fold in white chocolate chips: If using, gently fold the white chocolate chips into the batter.
- Bake: Pour the batter into the prepared baking pan and spread it evenly. Bake for 25–30 minutes, or until a toothpick inserted into the center comes out with a few moist crumbs (not wet batter).
- Cool: Let the brownies cool completely in the pan before slicing. If desired, drizzle or spread cream cheese frosting on top.
- Serve: Cut into squares and enjoy!
Notes
Calories: ~200 kcal
– Total Fat: 10g
– Saturated Fat: 6g
– Cholesterol: 50mg
– Sodium: 150mg
– Total Carbohydrates: 25g
– Dietary Fiber: 1g
– Sugars: 18g
– Protein: 3g
FAQ
What are Red Velvet Brownies?
Red Velvet Brownies are a rich dessert. They mix the fudgy brownie texture with the unique Red Velvet cake flavor and color. These treats have a deep red color and a subtle cocoa taste, making them a special treat.
What is the history and appeal of Red Velvet desserts?
Red Velvet desserts have a rich history, starting in the Victorian era. Their red color and unique taste, from cocoa, buttermilk, and food coloring, have won hearts. Mixing Red Velvet with brownies makes a dessert that’s both indulgent and beautiful.
What are the essential ingredients for the best Red Velvet Brownies?
The best Red Velvet Brownies need quality cocoa powder, flour, sugar, eggs, butter, and a bit of red food coloring. The right mix of these ingredients is key for a rich, fudgy texture and vibrant red color.
How can I master the perfect texture and color for my Red Velvet Brownies?
For the perfect texture and color, use the right amount of food coloring and mix carefully. Don’t overmix the batter to avoid a tough texture. Bake at the right temperature and time for a moist, fudgy crumb. With practice, you’ll get the texture and color just right.
What are the steps for baking the perfect Red Velvet Brownies?
To bake perfect Red Velvet Brownies, preheat your oven and prepare your pan. Mix wet and dry ingredients in the correct order. Watch the baking time closely. Following these steps ensures your brownies are moist, fudgy, and look great every time.